
Fitting the panels
PanelPiedra® decorative panels are fitted straight onto the existing surface with no building work, thanks to how light they are. With ordinary DIY tools and these 18 steps you can clad a whole wall: measuring and cutting, screwing, joining, filling the joints and ageing the finish.
What will you need?
Nothing special: ordinary DIY tools, the joint filler in the colour of your panel and the ageing spray to even out the finish.
- Screwdriver with various bits for coach screws
- Power or hand saw with a wood-cutting blade
- Caulking gun
- Tape measure and rule
- Paintbrush and brush for texturing the filler
- 3 mm and 8 mm drill bits
- Wall plugs and coach screws (for professionals, an automatic nail gun is recommended)
- Marker pen
- Joint filler (indoor fitting) and adhesive filler (outdoor fitting)
- Paint and ageing spray

Step by step
The 18 steps of the installation, from measuring the surface to ageing the joints with the spray so that the finish matches the tone of the panel.
-
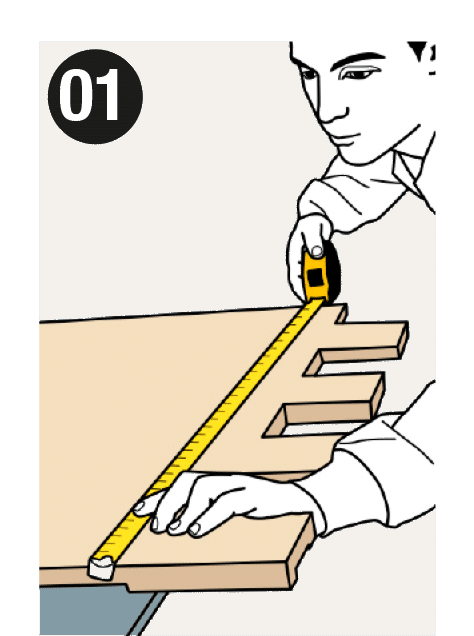
Measure the surface to be clad and work out how many panels you need. Each panel covers roughly one square metre.
-
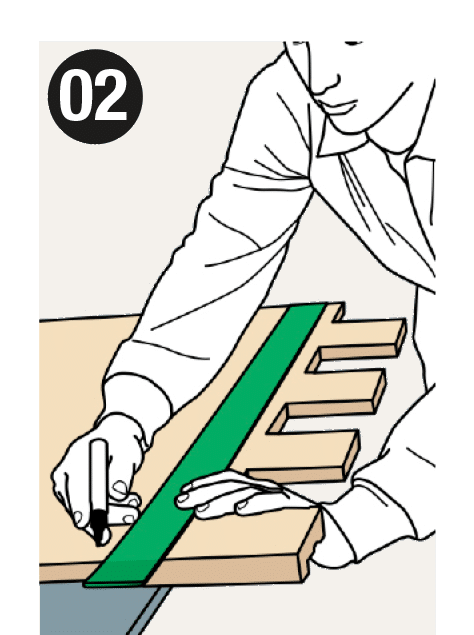
Use a rule to help you, then mark the area to be cut with a marker pen.
-
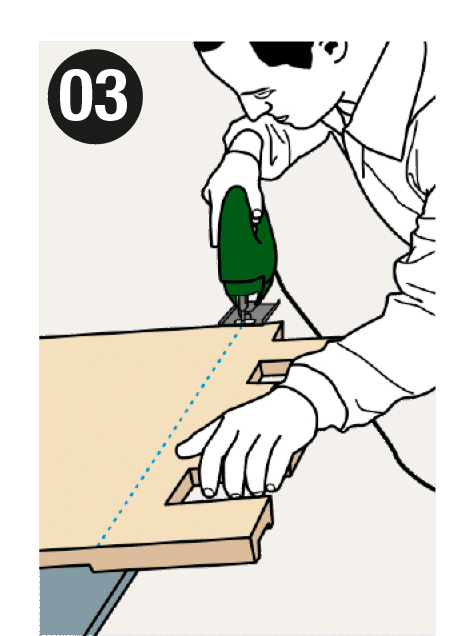
With interlocking panels, start by cutting one end of the surface along the line you have drawn.
-
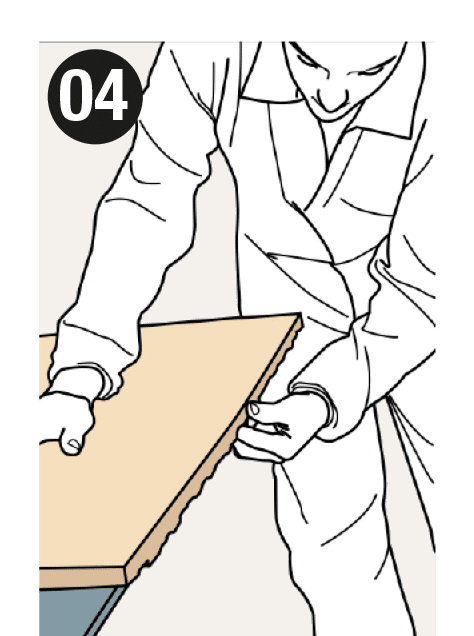
Check that the panels have been cut correctly.
-
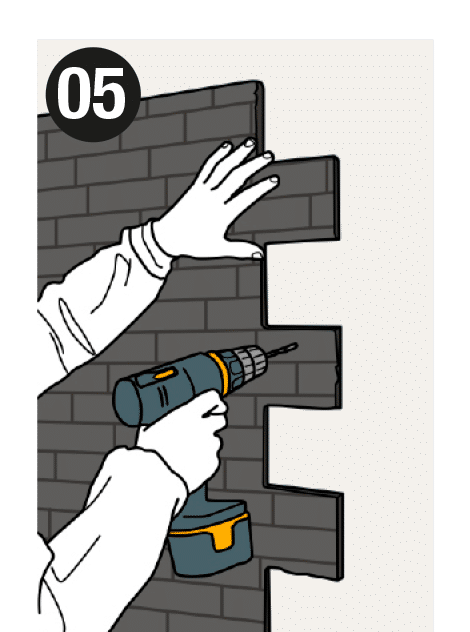
Hold the panel against the wall and drill with a 3 mm bit, preferably along the joints, going through the panel to mark the wall where the plug will go later.
-
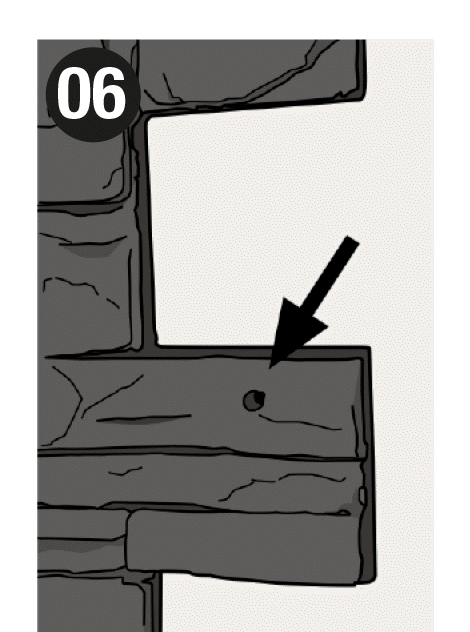
It is very important to drill in places that are easy to conceal. Repeat this 4 to 6 times per panel.
-
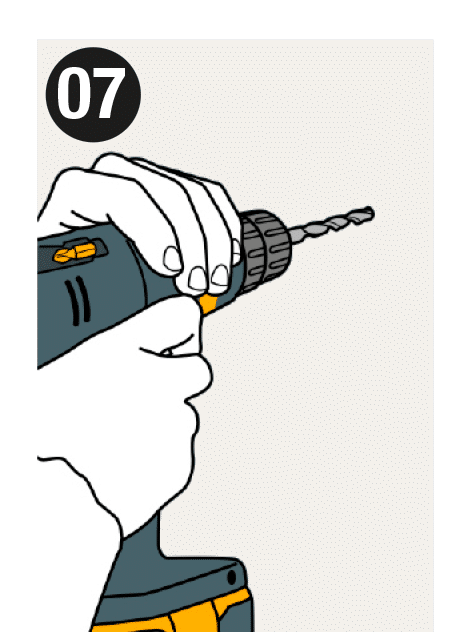
Take the panel away and drill with a 6 mm bit at the points marked on the wall with the 3 mm bit.
-
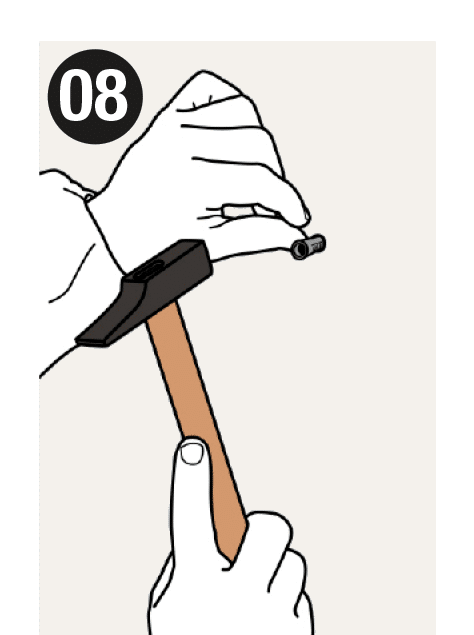
Insert all the wall plugs into the wall.
-
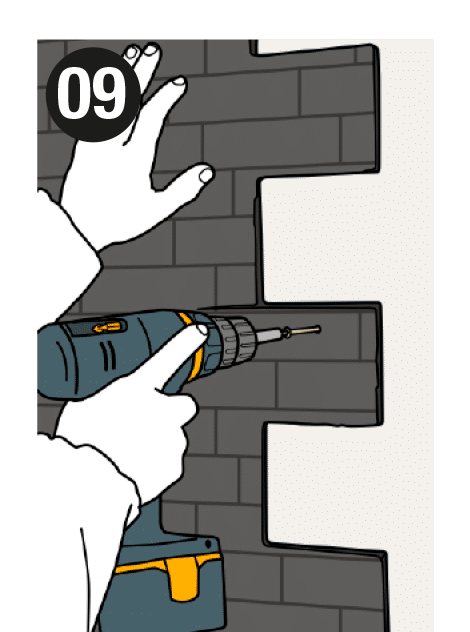
Position the panel and drive the screws into the plugs, sinking them 2-3 mm into the panel so they can be concealed later with filler.
-
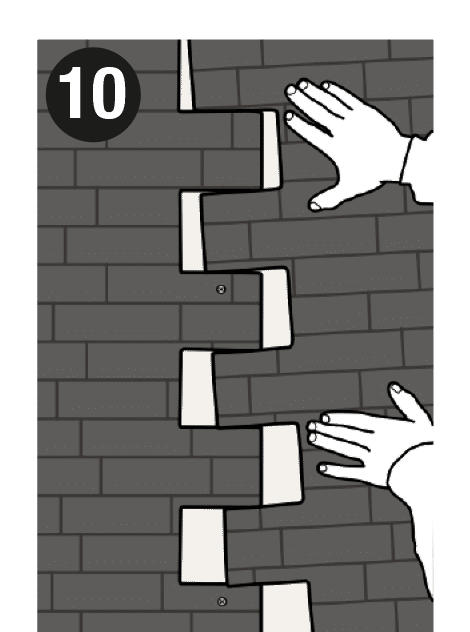
Join each panel to the next.
-
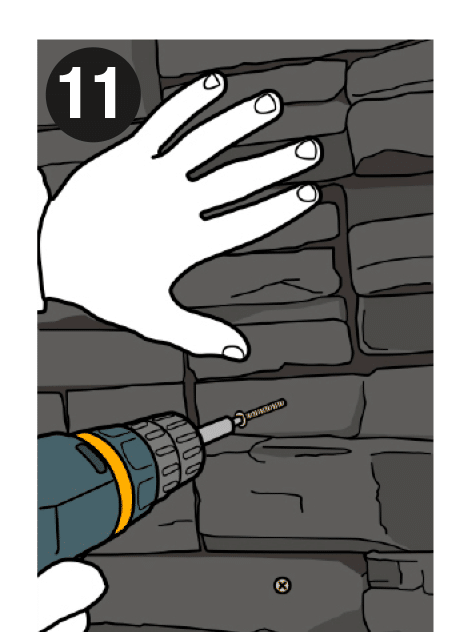
Repeat the same steps with every panel until the wall is covered, always placing the screws where they are easy to conceal.
-
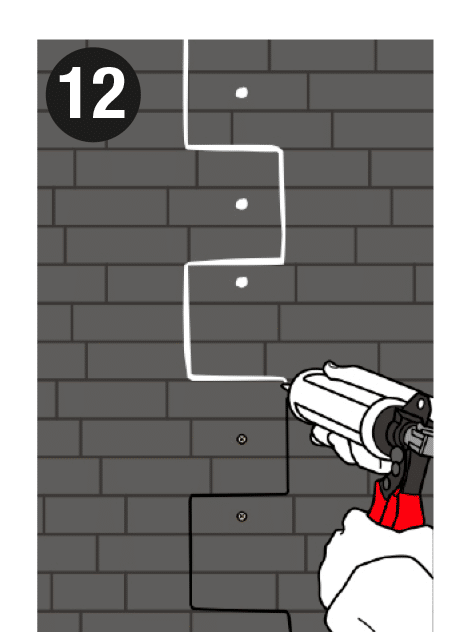
Once the surface is clad, fill both the joints and the drill holes with filler.
-
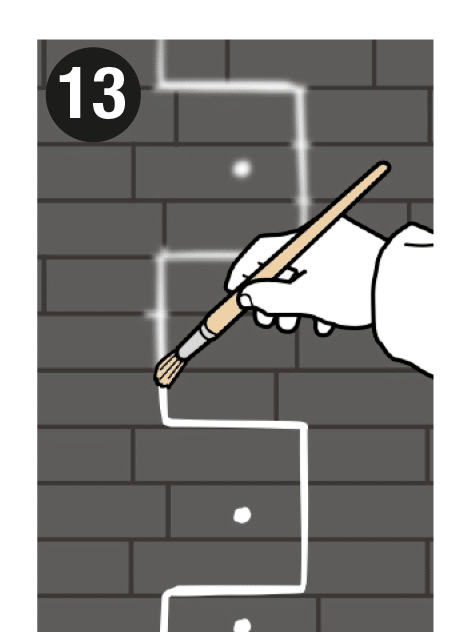
After filling, texture the joints: run a fine, damp brush over the joints and holes to even out the texture.
-
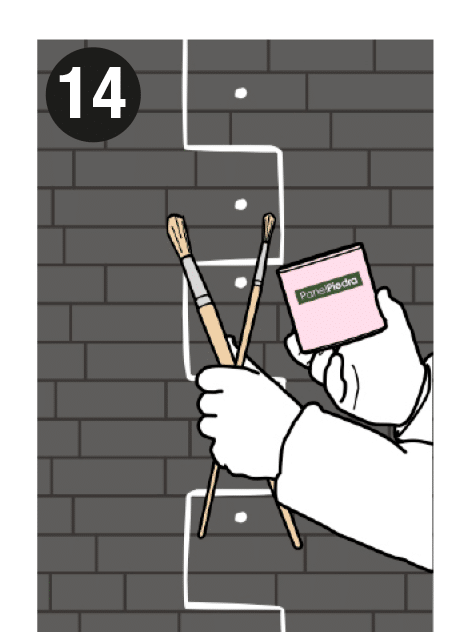
With the whole surface filled, wait 2 to 4 hours.
-
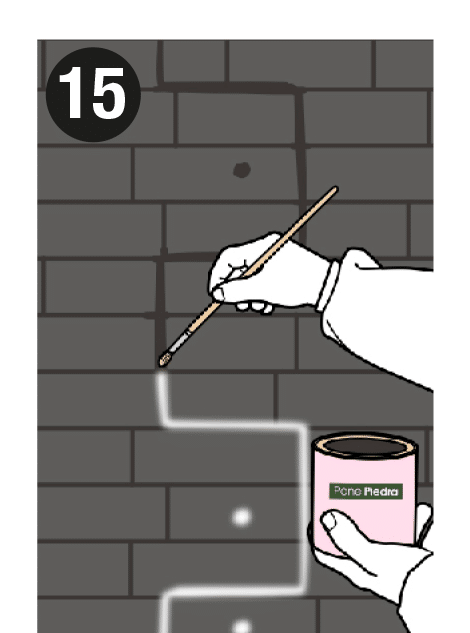
Once the filler has dried, paint the areas where it was applied using different brushes.
-
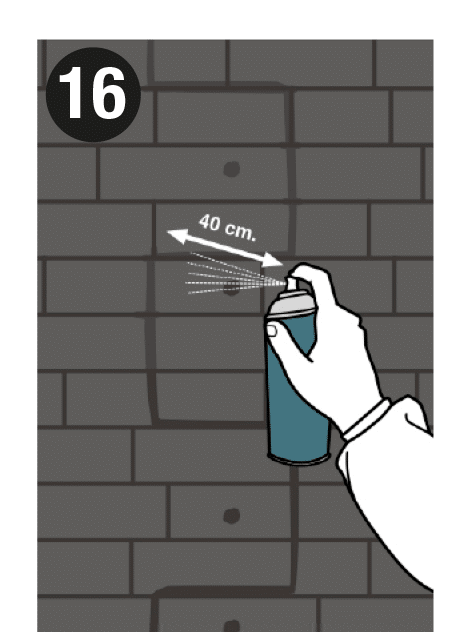
The spray matches the colour of the joints to that of the panel: once the paint is dry, apply a quick burst of ageing spray from 40 cm away.
-
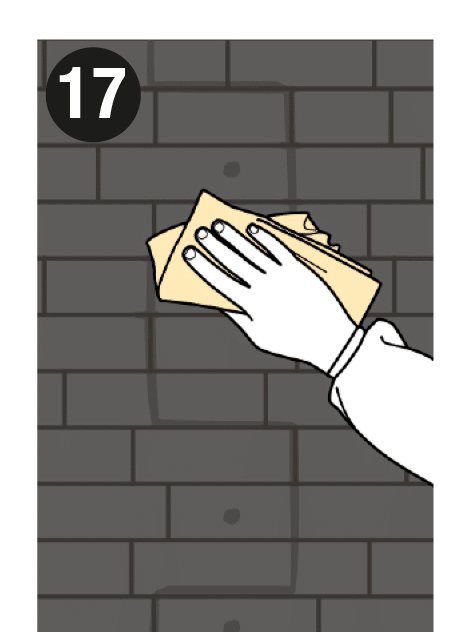
Then, without letting the paint dry, wipe with a damp cloth so the ageing settles into the pores of the panel. This can be repeated as often as needed.
-
Once every step is done, the result is a perfect finish.


Installation videos
Four real installations explained from start to finish.
How to fit decorative panels
A step-by-step video on fitting stone-effect decorative panels in a home. The panel used is the Pizarra model, from the Classic collection.
Fitting old brick panels
Fitting panels that imitate old white brick. In this case, an old Loft brick on the living-room wall of a home.
Fitting brick-effect panels
How to fit brick-effect panels quickly and easily. In this case, an Inglés brick in a small office.
Fitting polyurethane panels
Fitting stone-effect panels on a living-room wall. In this case, the Laja Fina model by PanelPiedra®.
Still have questions about fitting them?
Tell us about your project and we will advise you with no obligation: materials, sizes and fitting.